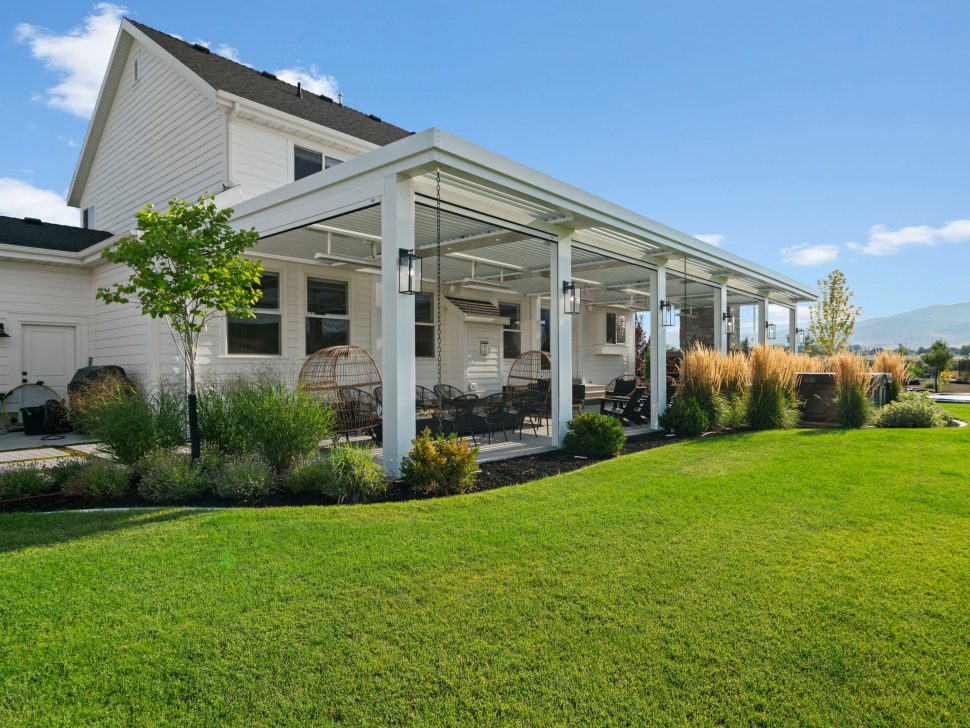
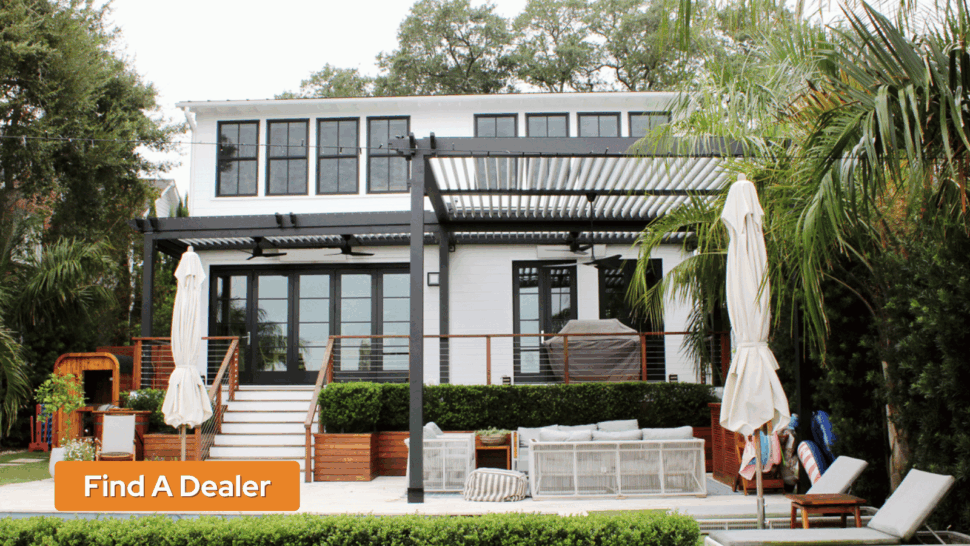
Design Your Perfect Outdoor Space
Choosing a StruXure pergola is an investment in how you live outdoors. Whether you’re planning to install a pergola on a patio, deck, or simply want it to be freestanding, understanding the installation process helps eliminate surprises and sets clear expectations.
While each project is customized, most StruXure pergola installations follow the same proven steps to ensure long-term performance, safety, and beauty.
Table of Contents
Step 1: Site Assessment and Installation Planning
Every pergola installation begins with a professional assessment of the location. Your dealer’s installation team evaluates the layout of your outdoor space, the surface, and how the pergola will integrate with your home.
Drainage, pitch, structural support, and any electrical needs are also reviewed during this phase to ensure the system is meticulously designed before work begins.
Step 2: Deposit Collection and Material Ordering
Once the design and installation approach are finalized, the dealer collects a deposit and orders the materials. Because every pergola is custom-ordered, lead times can vary depending on location, freight schedules, job complexity, and the dealer’s installation calendar.
Specialized layouts or multi-zone pergolas may require additional time, and your dealer will communicate these expectations upfront.
Step 3: Material Delivery
When the pergola materials arrive, the dealer coordinates delivery to the installation site. Materials are typically stored on a driveway, along the side of the home, in a garage, or near the backyard. Generally, they will place them as close as possible to where the pergola installation will take place.
Homeowners usually have flexibility in choosing where materials are stored, as long as the location remains convenient for the installation crew.
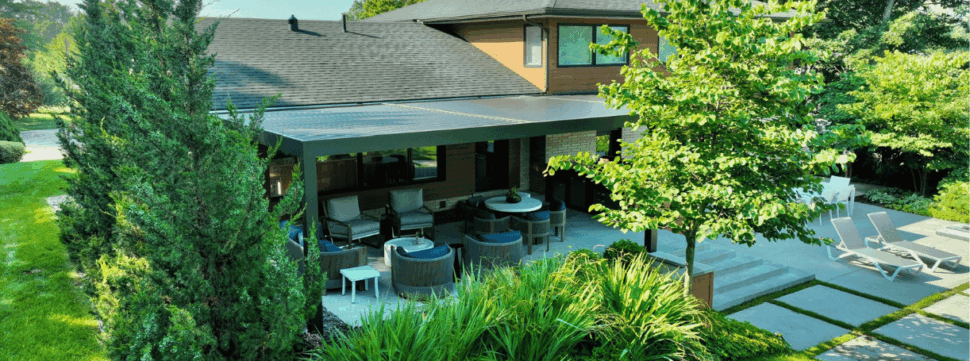
StruXure Ohio | Ohio
Step 4: Jobsite Preparation
Preparing the jobsite is a critical step and may take place over several days. Depending on the project, this can include pouring concrete footers, preparing an existing patio, or reinforcing a deck. For a pergola attached to a house, any siding may be temporarily removed and flashings added to ensure proper waterproofing.
If existing structures need to be removed to make room for the pergola, demolition will also occur during this phase.
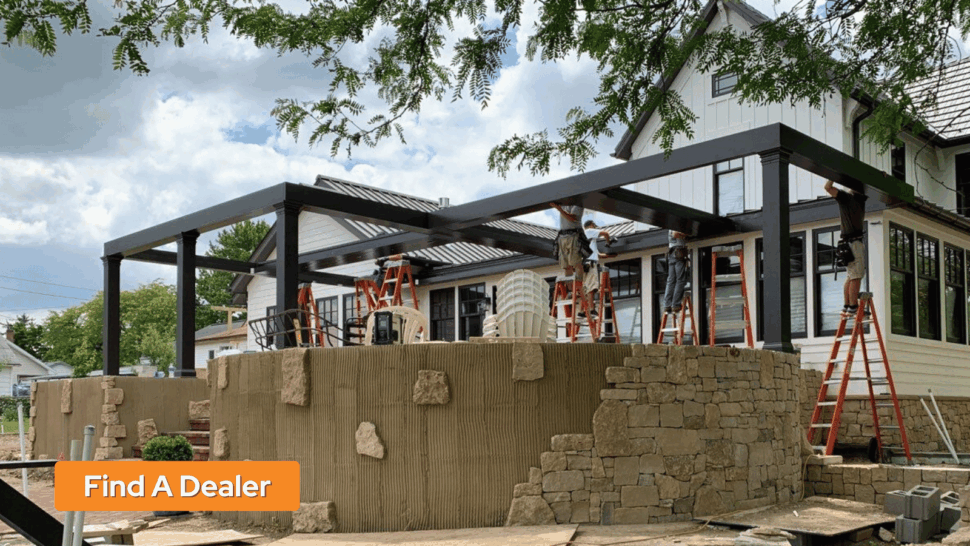
Step 5: Pergola Framing and Structural Assembly
With the site prepared, the framing of the pergola begins. Posts, beams, and the upper frame are assembled to create the structural foundation of the system.
Order of assembly may vary by dealer, as some begin with posts while others start with the overhead structure. All installations follow StruXure’s standards to ensure strength, alignment, and long-term durability.
Step 6: Electrical Installation
Now comes the electrical work, which uses the same electricity as your home. If your pergola includes integrated lighting, fans, heaters, or motorized features, electrical work for these accessories is completed during this stage of the pergola installation.
Some dealers handle electrical work directly, while others may coordinate with licensed third-party electricians who work alongside the installation team. This approach helps streamline the process and minimizes coordination efforts for the homeowner.

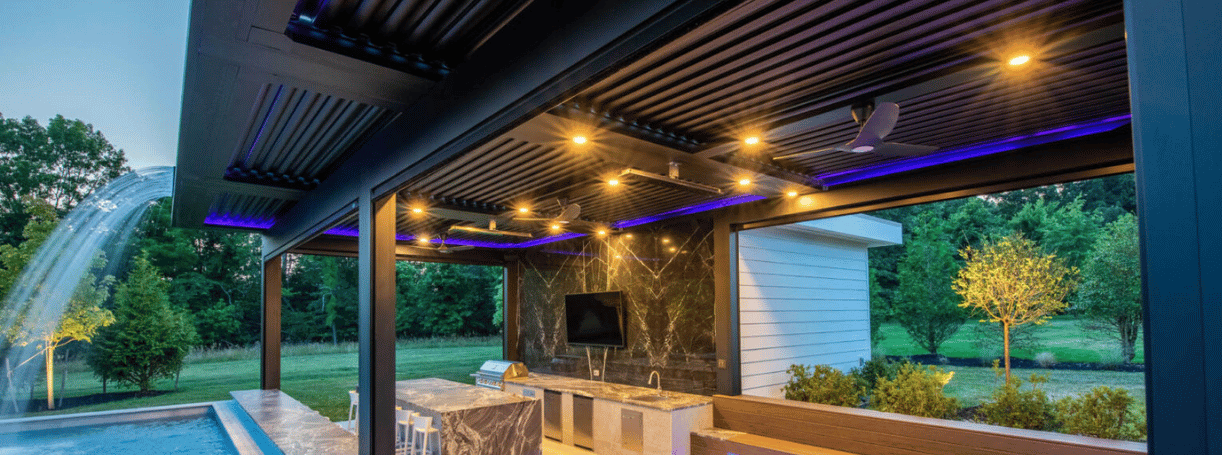
Paramount Pergolas | Missouri
Step 7: Gutter Installation and Waterproofing
One of the defining features of a StruXure pergola is its integrated gutter system. Once the structure is in place, gutters are installed, and all connections are sealed and waterproofed. This step ensures rainwater is effectively managed and directed away from the space below, keeping your space dry and functional even during rainy weather.
Step 8: Canopy, Louvers, and Accessories
After the framing and gutters are complete, the canopy and motorized louvers are installed. These components are what allow you to control sunlight, ventilation, and shade throughout the day.
Once the canopy is in place, accessories such as lighting, fans, heaters, and screens are installed to complete the outdoor living space.
Step 9: Final Cleanup and Detailing
When installation is complete, the pergola is thoroughly wiped down and inspected, and the jobsite is cleaned. Any debris from the installation process is removed, leaving your outdoor space clean and polished.
Grand Strand Outdoor Living | South Carolina
Step 10: Homeowner Walkthrough and Operation Overview
The final step in the pergola installation process is a detailed walkthrough with the homeowner. Your dealer will demonstrate how to operate the louvers, control accessories, and maintain the system. This ensures you feel confident using your pergola and understand how to get the most out of your investment.
Why a Professional Pergola Installation Matters
A well-executed pergola installation is about more than just assembling materials. Proper planning, precision, and experience are essential. From the initial site assessment to the final walkthrough, each step in the installation process is designed to ensure your system performs exactly as intended. By working with an authorized StruXure dealer, homeowners can feel confident knowing their pergola is installed to meet our high standards, local requirements, and the unique needs of their outdoor space.
Pergola Installation FAQs
Below, we address some of the most frequently asked questions homeowners have about pergola installation, timelines, and what to expect before, during, and after the process.
When is the best time to install a pergola?
In many regions, early spring and late fall provide ideal conditions for pergola installation due to moderate temperatures. That said, installations can often be completed year-round depending on the climate and weather patterns.
How does installation differ between concrete and deck surfaces?
For a patio pergola installed on concrete, additional footings may be required depending on the thickness of the slab to provide proper structural support and uplift resistance.
When installing a pergola on a deck, post brackets are secured directly to the deck’s structural framing, and additional reinforcement may be added to support the pergola’s load.
What’s the difference between a side-mounted pergola and a roof-mounted pergola?
A pergola attached to a house is typically secured to the home’s structural framing using lag bolts and requires sufficient ceiling height (generally a minimum of eight feet) to accommodate accessories.
Installing a pergola attached to a roof involves mounting brackets through the shingles directly into the roof trusses. All penetrations are sealed to prevent water intrusion, with sealing methods varying based on roof type.
What is the average pergola installation timeline?
Most projects take approximately two days per zone, depending on the complexity of the pergola and the accessories selected. Timelines can vary by dealer and site conditions.
Does a pergola installation require a permit?
Permit requirements vary by local laws. Your authorized StruXure dealer can help determine what permits are needed and assist with the process if required.
What warranty comes with a StruXure pergola?
Our pergolas are backed by industry-leading warranties. For full details, homeowners should visit the warranty page.
The Future of Your Outdoor Space Starts Here
A StruXure pergola is an investment in comfort, functionality, and long-term outdoor enjoyment, and the installation process plays a critical role in delivering that experience. Knowing what to expect helps you move forward with confidence, ask the right questions, and prepare your space for a seamless installation.
Ready to find a StruXure pergola installer near you? Connect with an authorized dealer to explore design options, understand timelines, and take the first step toward transforming your outdoor living space.